Skip to content

Category: Web Development

  • Say Goodbye to chown: Fixing WordPress File Permissions in Docker on Windows with WSL

    Say Goodbye to chown: Fixing WordPress File Permissions in Docker on Windows with WSL

    If you’re developing WordPress themes or plugins locally on Windows using Docker inside of WSL, you’ve likely run into a frustrating and time-consuming problem: the constant battle with file permissions.

    One minute, you need to set your theme files to adam:adam so you can edit them in your IDE like PhpStorm or VS Code. The next, you need to switch them to www-data:www-data so that the web server can run a server-side process, like an automatic SCSS compiler. Then, to update a plugin from the WordPress admin panel, you have to switch the permissions back again.

    This constant chown shuffle is a major drag on productivity. I recently faced this exact scenario with a specific local development stack:

    • Host OS: Windows 11
    • Linux Environment: WSL (Ubuntu)
    • Containerization: Docker Desktop
    • WordPress Image: The official wordpress:latest
    • Workflow: WordPress files mounted from my local WSL filesystem into the container.

    The goal was simple: edit files as my local user while allowing the WordPress container to perform its necessary file operations without constant permission changes. After some trial and error, I landed on a clean, permanent solution. This fix has been tested for the environment above and works perfectly.

    The Core of the Problem: A User ID Mismatch

    The friction comes from a fundamental conflict between users. On your WSL instance, your user (adam in my case) owns the project files. This user has a specific User ID (UID) and Group ID (GID), which are typically 1000 and 1000 for the default user on most Linux distributions.

    However, inside the official wordpress:latest Docker container, the Apache web server runs as the www-data user by default. This www-data user has a different UID and GID (usually 33). When WordPress needs to write a file—like scssphp compiling a stylesheet or a plugin being updated—it does so as www-data. Since the UIDs don’t match, you get permission errors unless you manually change the file owner to www-data.

    Worse yet, I noticed that on some occasions, a process would create a file owned by root, adding yet another layer of complexity. The solution is to stop juggling users and just make them the same.

    The Solution: Synchronize Your User with the Container

    The most robust fix is to tell Docker to run the Apache process inside the container using your own user’s UID and GID. This way, from the file system’s perspective, your local user and the web server user are identical. Any file you create can be read/written by the server, and any file the server creates is owned by you.

    Here’s how to do it in two simple steps.

    Step 1: Find Your User and Group ID in WSL

    First, you need to find the UID and GID of your user inside your WSL terminal. It’s almost certainly 1000:1000, but it’s always best to verify.

    Open your WSL terminal and run the following command:

    Bash

    id -u && id -g
    

    This will print your UID and GID. Take note of these numbers.

    Step 2: Update Your docker-compose.yml

    Next, open the docker-compose.yml file in your project root. We are going to add a single, powerful directive to your WordPress service configuration: user.

    Find the service definition for your WordPress container and add the line user: "1000:1000", replacing 1000:1000 with your actual UID and GID if they are different.

    Here is a before-and-after example:

    Before:

    YAML

    version: '3.8'
    services:
      wordpress:
        image: wordpress:latest
        volumes:
          - ./wp-content:/var/www/html/wp-content
          # other configurations...
        ports:
          - "8080:80"
        restart: always
    

    After:

    YAML

    version: '3.8'
    services:
      wordpress:
        image: wordpress:latest
        user: "1000:1000" # Add this line!
        volumes:
          - ./wp-content:/var/www/html/wp-content
          # other configurations...
        ports:
          - "8080:80"
        restart: always
    

    Step 3: Rebuild and Verify

    Save your docker-compose.yml file. Now, stop and rebuild your container to apply the change. Run this command from your project directory in the WSL terminal:

    Bash

    docker-compose down && docker-compose up -d --build
    

    Once the container is running, you can verify that it’s working. Have WordPress perform an action that creates a file. In my case, I deleted my old compiled CSS file and reloaded a page, which triggered the scssphp compiler.

    Then, check the file’s ownership in your terminal:

    Bash

    ls -l wp-content/themes/your-theme/path/to/main.css
    

    The owner should now be your local user (adam adam). Success! You can now edit the file, and the server can still overwrite it when it recompiles, with zero permission conflicts.

    A Smoother Path Forward

    By synchronizing the container’s user with your local user, you eliminate the source of the permission conflict entirely. This simple, one-line change to your docker-compose.yml creates a seamless and efficient local development workflow. No more context switching, no more running chown—just smooth, productive coding.

    Disclaimer: This solution has been specifically tested and confirmed to work with a development environment running on Windows, using Docker Desktop with the WSL backend, and running the official wordpress:latest image with locally mounted files. While the principles apply more broadly, the exact implementation may differ in other environments.

  • Set Tag Order WordPress Plugin

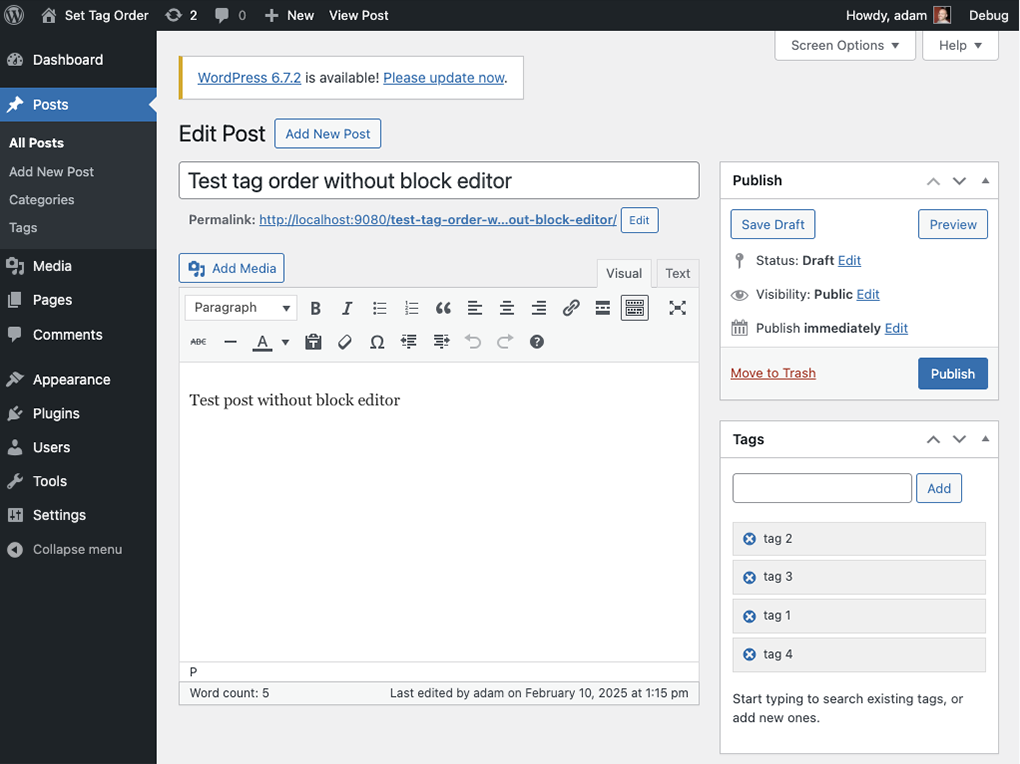
    A few months ago, I was asked to solve what I thought was a simple problem. The question was, “Can we set the display order of tags?” It seemed like a very benign question until I started to dig into it and discovered that it’s, in fact, not a simple question at all. WordPress, by default, sorts tags alphabetically when you use the get_tags() function.

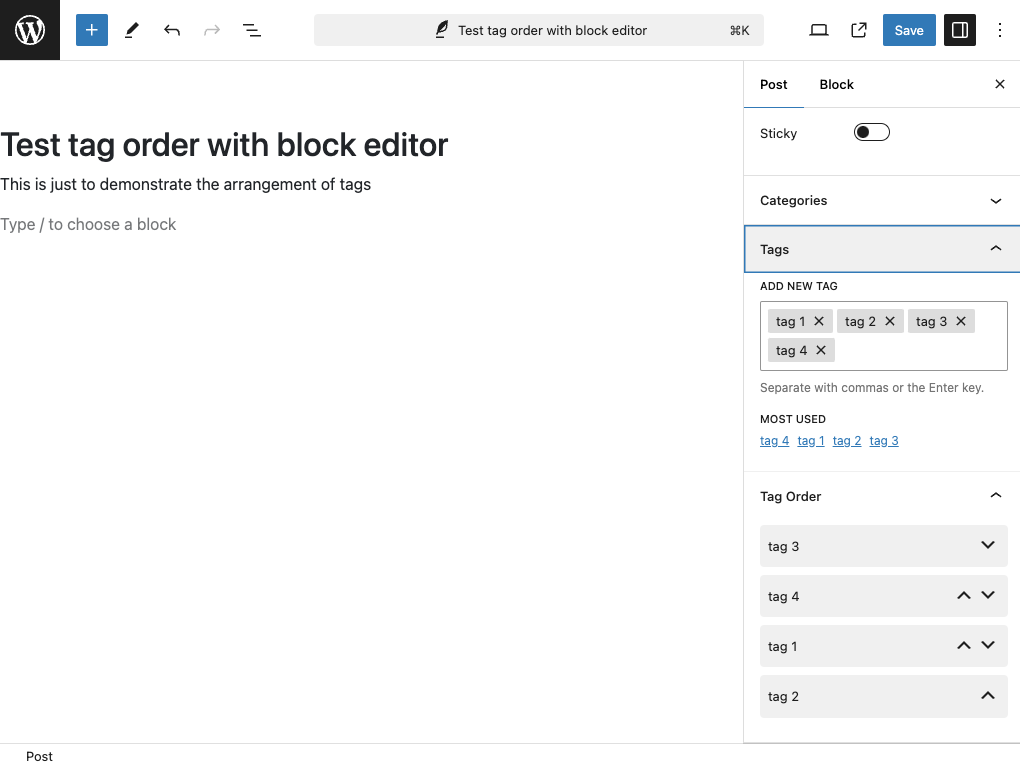
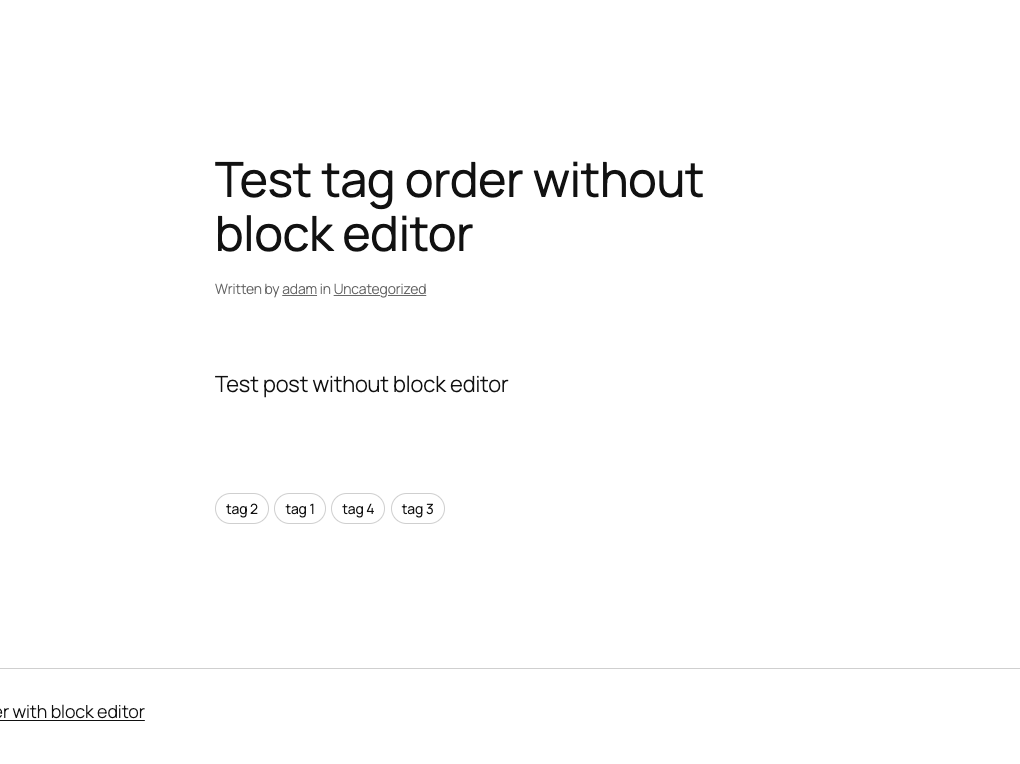
    The problem I was asked to create a solution for was to allow the editor to specify the order that tags are rendered on the corresponding post page. It was way more involed thatn I had anticipated but ultimately, I created a plugin that works with both the block editor and classic editor and should also work with any theme that displays tags using the get_tags() function.

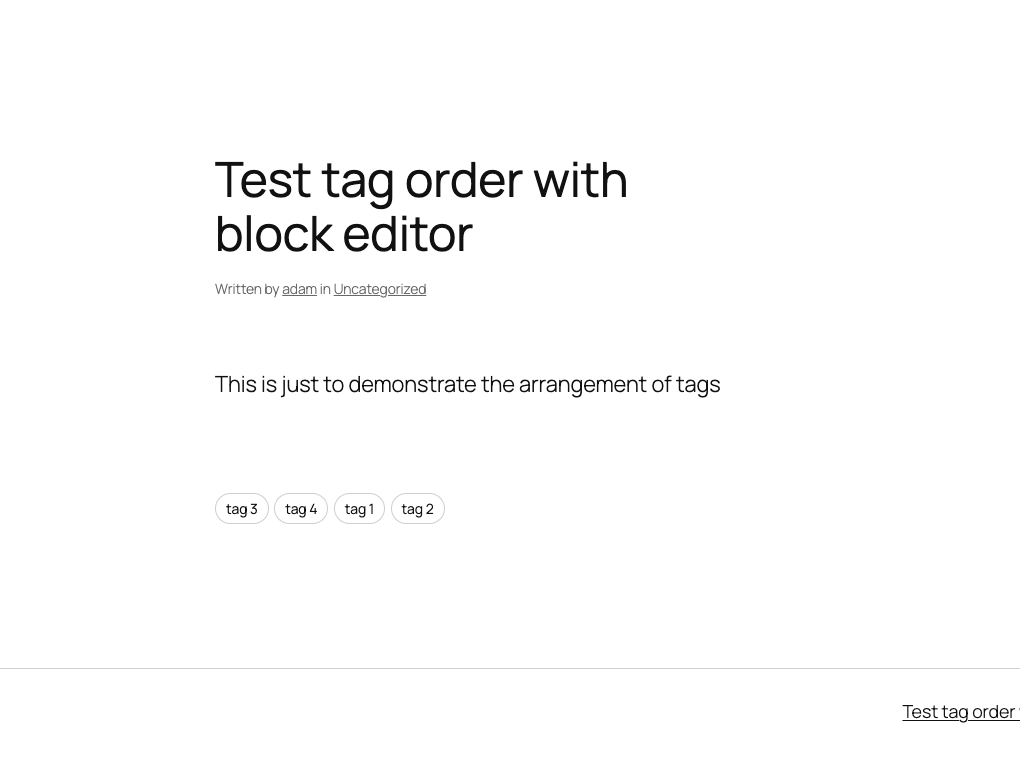
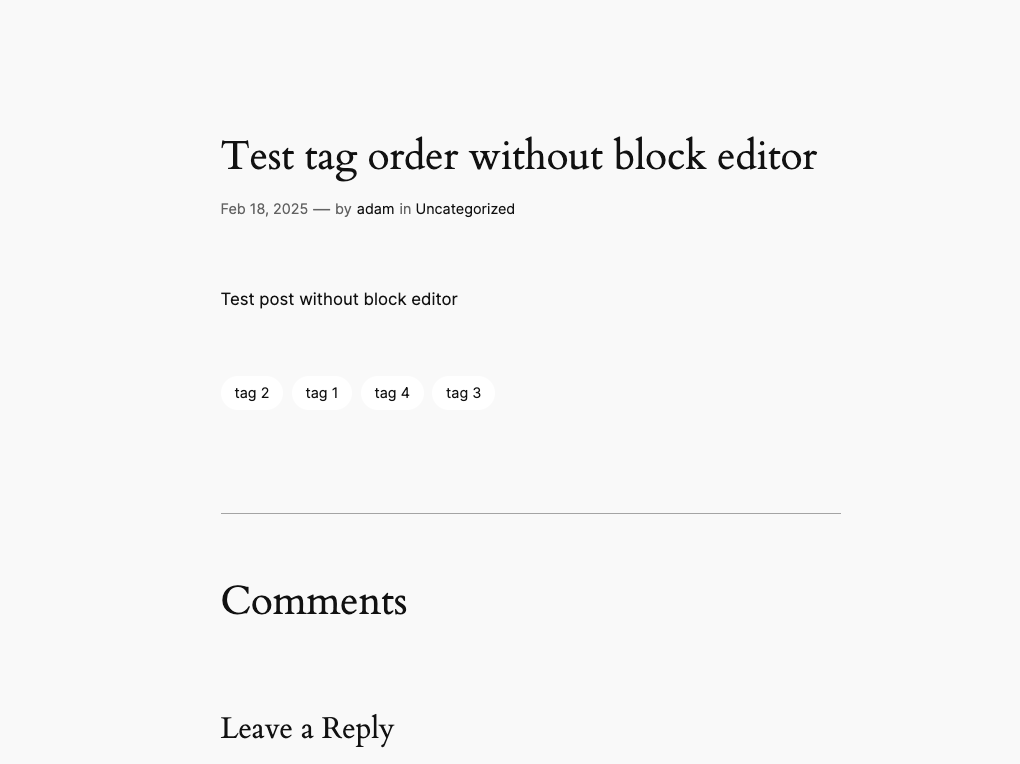
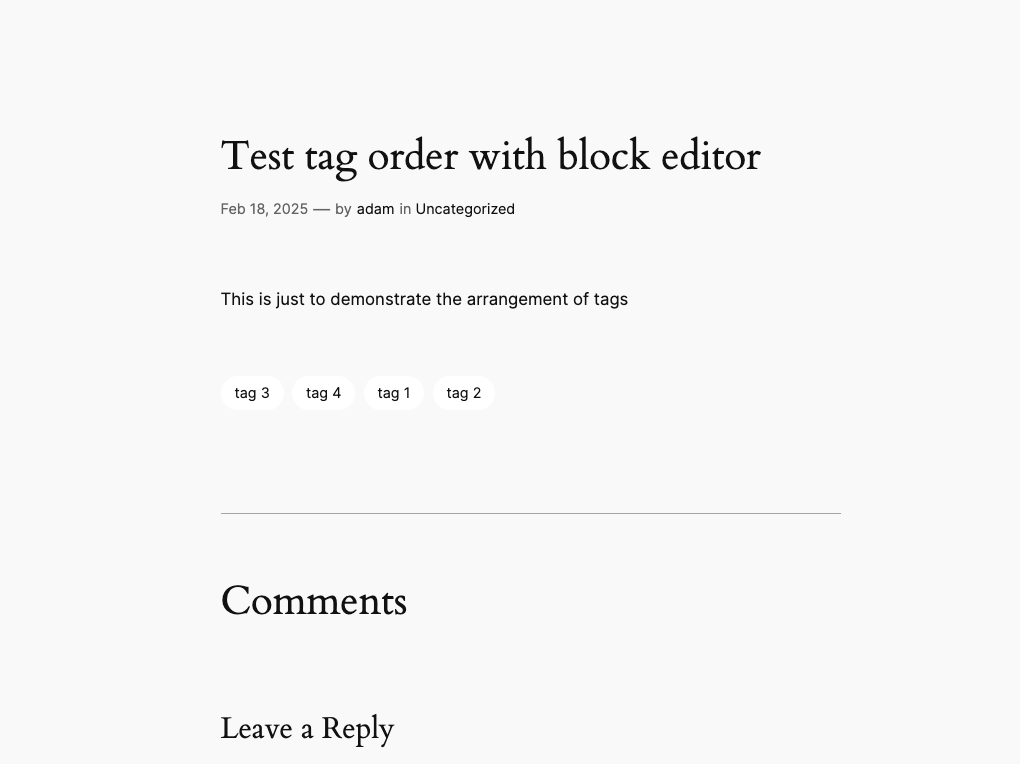
    I’ve attached some screenshots to help illustrate but the plugin can be downloaded directly from my GitHub. I have made this public and welcome any and all feedback or feature requests!

    This plugin is now also listed in the WordPress plugin directory! You can download it from WordPress.org here or add it directly from your WordPress installation.

  • Grip Strength Percentile Calculator Project

    Years ago, I worked with a doctor that specialized in sports medicine and physical therapy. He asked me to create a bespoke grip strength calculator that he could use and present to patients of his. I used charts and data available from the NIH to do the math and meet the task requirements. I wrote this in vanilla JavaScript and in a way that it could be embedded in nearly any site that allowed custom HTML. This was initially going to be embedded in a Magento content page and it worked out well.

  • I Launched My First Next.js Project

    I wanted to build a pastebin when I started learning React and Next.js. I thought this would be a good demonstration of what I’ve learned, with the ability to add features as I get more advanced with React and Next.js. It’s been a little over 6 months since I put the project aside as it ws right around the holidays and my work schedule was absolutely awful at the time.

    Fast forward to this week and I have been able to pick it back up, re-familiarize myself with my own work and get a fully functional (albeit very basic) release pushed live! You can check it out at https://pastey.io.

    My goal was to incorporate popular (and modern) technology offerings so along with Next.js, I’m using MongoDB Atlas for data storage and Auth0 for user account creation and authentication. Since this was my first real foray into a project that didn’t use MySQL, trying to wrap my brain around Mongo was difficult at first but, at least in my case, I was making it harder than I really needed to because of working exclusively with MySQL for so long. Auth0 has been fairly easy to work with as well and their documentation on intgrating into a Next.js project was a tremendous help. And finally, deploying everything on Vercel was shockingly easy.

    Once unfortunate side effect of pausing development on this project is that Next.js 13 was released right as I got too busy to make any meaningful progress. I do need to consider migrating to Next.js 13 before I add too many more features that may not be forward-compatible without a lot of rework and refactoring.

    I fully intend to keep Pastey.io operational indefinitely because I do think it’s a useful tool and not just a tech demo. I find myself using paste bins and buckets more frequently in my new role and it seemed fitting that I start using one that I’ve built from scratch. Being a police officer has made me much more paranoid about personal information security and using a tool I built myself means I know excatly what is happening with the information I give it.